All measurements and joints can be altered to your requirements or skill levels. Since my lack of tools and/or skills prohibit me from making even simple lap-joints, all joints used in this table are butt-joints with dowels and glue holding it all together.
Materials Used:
All these pieces are from 16mm MDF (Supawood)
- (Number 1): 670mm x 50mm x 16mm (2 pieces)
- (Number 2): 250mm x 50mm x 16mm (6 pieces)
- (Number 3): 470mm x 50mm x 16mm (4 pieces)
- (Number 4): 318mm x 50mm x 16mm (2 pieces)
- (Number 5): 670mm x 495mm x 16mm (2 pieces)

Step 1: Using 2 feet pieces (Number 1), lay them out parallel, 395mm apart.

Step 2: Create the left side using 2 uprights (Number 2) and 2 crosspieces (Number 3). This side fits into the center of the foot piece as shown.

Step 3: Duplicate Step 2 to create the right side.

Step 4: Use 2 uprights (Number 2) and 2 crosspieces (Number 4), to create an end piece.

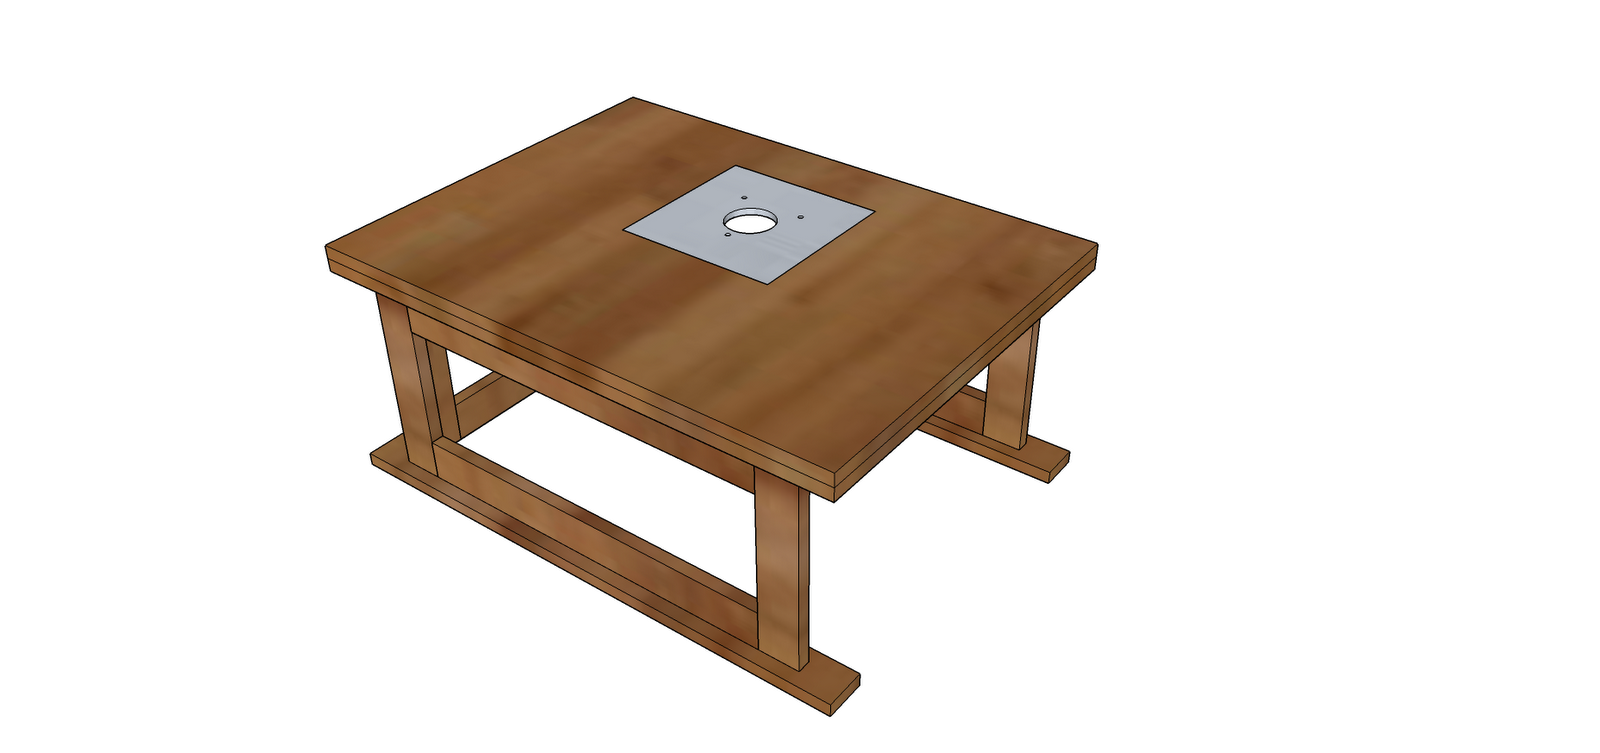
Step 5: Use 2 tabletop pieces (Number 5), aligned with the foot pieces, to create a table top.

This is your basic table for a router.
Attaching a router to the bottom of this table top is not an option with the table top being 32mm thick. We need a router plate.
- Using a 200mm x 200mm x 8mm piece of aluminium I cut a center hole for the router bit (60mm dia). In future, additional router plates can be cut, which would have larger or smaller holes for different bits.
- Drill holes to fix your router to the router plate - these holes will vary depending which model router you have.

- The hole in the table top for the router plate is cut off-center, simply as it is my preference - gives more table room for work pieces. The router plate hole is 8mm deep and 200mm x 200mm. I simply set the router to 8mm deep, and clamped guides to the table top and routed the hole. The rounded corners were chiseled square to accommodate the square plate. (You might want to round the corners of the aluminium plate rather, but again, it is personal preference.)

- Leaving a lip of 15mm around the inside of the router plate hole, a 170mm x 170mm hole is then cut all the way through the table top.

- This leaves us with the router table, complete with router plate to which to attach a router.
I will continue this tutorial later by creating a fence for this router table.
0 comments:
Post a Comment